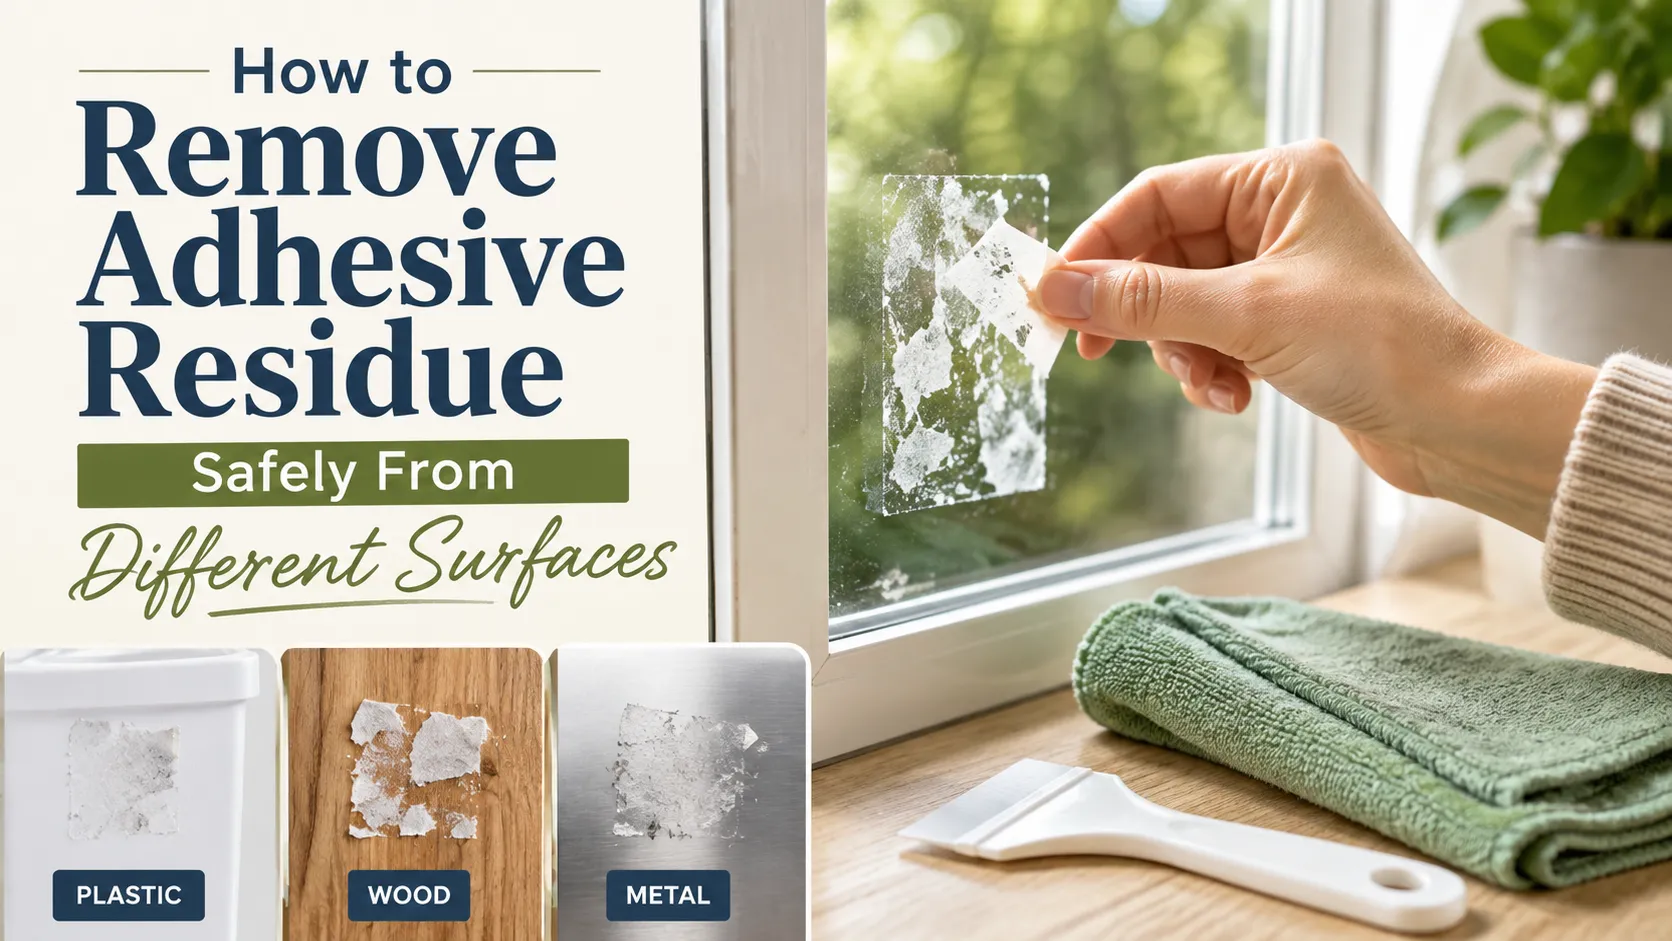
Adhesive residue usually comes off more safely when you match the method to the surface instead of reaching for the strongest solvent first. Start by removing loose material, try a mild cleaning method that suits the surface, and move to a labeled adhesive remover only if residue remains.
The surface underneath matters as much as the adhesive itself. Glass, plastic, finished wood, painted metal, and fabric can react differently to the same cleaner, so a method that works on one item may damage another.
Check the Surface Before You Start
Before treating the sticky area, identify what is underneath it and whether that material has a finish, coating, paint, film, or care label.
A glass jar is different from tinted glass. Bare metal is different from a painted appliance. Finished wood is different from unfinished wood, and clothing has its own care instructions. These differences determine how much moisture, rubbing, or chemical treatment the item can tolerate.
Check three things first:
- the base material;
- any paint, varnish, coating, tint, laminate, or decorative finish;
- manufacturer care instructions or a garment care label.
If you plan to use a commercial adhesive remover, read its surface-compatibility list before applying it. Many removers are approved for some materials but specifically exclude others. When the label calls for a spot test, try the product on a small inconspicuous area and stop if the surface mars, fades, or otherwise changes.
Also look at the residue itself. Thin, tacky film may need only mild cleaning, while a thicker dried patch often takes several gentle passes.
Start With the Mildest Effective Method
Removing the bulk of the adhesive before using a stronger cleaner gives you more control and limits unnecessary treatment of the surface underneath.
Use this sequence:
- Lift loose material. Peel away remaining tape, labels, or sticker backing with your fingers. On a hard, scratch-resistant surface, a plastic edge may help with thicker residue, but stop if it leaves marks.
- Try mild cleaning. If the surface tolerates water, use a damp cloth with a small amount of dish soap and work the residue gently rather than soaking the area.
- Wipe and reassess. Remove loosened adhesive, then check for tackiness once the area is clean enough to judge.
- Move to a compatible remover if needed. Choose a product that specifically lists the surface as suitable and follow its directions for application, contact time, cleanup, ventilation, and other precautions.
Do not assume that a stronger product is automatically a better next step. Repeating a mild method once may be preferable to switching immediately to an unknown solvent or scraping harder.
Match the Method to the Surface
The easiest way to avoid damage is to treat the surface category as the main decision point.
| Surface | Good starting point | If residue remains | Main caution |
|---|---|---|---|
| Glass | Gentle lifting, damp soapy cloth | Labeled adhesive remover | Check for tint, film, printing, or coating |
| Bare metal | Gentle lifting and cleaning | Surface-compatible remover | Confirm the metal is not painted, plated, or coated |
| Plastic | Mild cleaning and light rubbing | Remover labeled for that plastic or item | Some removers can dull or mark plastics |
| Painted or finished wood | Minimal moisture and gentle lifting | Product approved for the finish | Avoid treating unfinished wood like sealed wood |
| Washable fabric | Follow the care label | Fabric-safe product used exactly as directed | Hard-surface cleaners are not automatically fabric-safe |
Glass and Bare Metal
On plain glass, begin by peeling or wiping away whatever releases without force. A damp soapy cloth is a reasonable first treatment for light sticky residue.
Before using anything stronger, check whether the glass has tint, film, printed decoration, or another coating. Those additions may have different cleaning restrictions from plain glass.
Metal also needs a quick surface check. A refrigerator door, tool, fixture, or decorative object may be painted, plated, clear-coated, or otherwise finished even when the material underneath is metal. In that case, protect the coating rather than treating the item as bare metal.
Plastic
Plastic needs a more conservative approach because different plastics and surface finishes do not respond the same way to adhesive removers.
Begin with mild cleaning and light rubbing. If that does not remove the residue, choose a product whose label lists plastic as an acceptable surface. Even then, follow any pretest instructions. Some adhesive removers carry warnings that they may dull certain plastics, so results on glass or metal should not be used to predict what will happen on plastic.
For clear plastic, painted plastic, electronics housings, or items made from an unknown material, manufacturer cleaning guidance should take priority over a generic household remedy.
Painted and Finished Wood
Here the finish is often more vulnerable than the wood underneath. Paint, varnish, lacquer, laminate, and other coatings can change which cleaners are suitable.
Use as little liquid as necessary and avoid saturating joints, damaged finishes, or exposed wood. If residue remains, choose a remover that explicitly lists finished wood or the relevant painted surface as compatible.
Do not apply the same recommendation to unfinished wood. Some adhesive-remover manufacturers specifically exclude unfinished wood even when their products are approved for finished wood.
Fabric and Clothing
Treat clothing according to its care label first. Care instructions help determine whether a garment can be washed normally or requires another cleaning method.
Remove loose adhesive without spreading it across a larger area. If you use an adhesive remover on clothing, choose one labeled for fabric and follow both the remover instructions and the garment care label. Product-specific directions may call for blotting, separate laundering, or another cleanup procedure, so there is no single pretreatment sequence for every adhesive remover.
Silk, leather, suede, trims, printed details, and specialty finishes may have additional restrictions that make a common household remover unsuitable.
Deal With Old or Hardened Residue Gradually
Old adhesive often comes away in stages. Once the loose material is gone, repeat the mildest method that has already proved compatible instead of increasing pressure immediately.
If you move to a commercial remover, follow that product’s directions rather than using a universal waiting time. Different formulas specify different surfaces, application periods, and cleanup procedures.
Work on a small section, wipe away softened residue, and inspect the area before another application. If the adhesive does not change after a compatible treatment, reassess what type of residue you are dealing with rather than forcing it off.
Large deposits of construction adhesive, cured epoxy, flooring mastic, or other heavy-duty bonding materials need material-specific removal methods and fall outside this general household approach.
Avoid Shortcuts That Can Damage the Surface
Most adhesive-removal problems become harder when the cleaner or tool damages the material underneath.
Use extra caution with these situations:
- Unknown solvents on plastic or coated surfaces. Check the product label instead of assuming compatibility.
- Sharp scraping on soft, painted, or easily scratched materials. Stop if the tool begins to mark the surface.
- Excess moisture on wood. Keep liquid controlled, especially around seams, exposed wood, or damaged finishes.
- Household remedies on unfamiliar materials. A substance that seems mild can still be unsuitable for a particular finish or porous surface.
- Mixed cleaning products. Do not combine cleaners unless their labels specifically instruct you to do so. Never mix household bleach or disinfectants with other cleaners.
If a commercial remover is needed, use it only as directed. Its label should determine where it can be applied and what handling precautions are required.
Clean Up the Remover and Inspect the Surface
After the adhesive is gone, remove any cleaner or remover residue using the cleanup method specified for the product and surface. Some products call for a soap-and-water wash after use, while other materials may require a different care method.
Let the area return to its normal appearance before deciding whether another treatment is necessary. Check for remaining tackiness, discoloration, dulling, or changes in texture.
If the surface looks normal and no adhesive remains, stop. When a small amount is still present, repeat the compatible method instead of jumping directly to a more aggressive one.
Use the Surface to Choose the Method
There is no single adhesive remover that belongs on every material. Start with loose removal and mild cleaning, then escalate only to a product that is compatible with the surface underneath.
This surface-first approach keeps the process straightforward and lowers the chance of replacing a sticky patch with scratches, discoloration, or damage to the finish.
FAQ
Can I use rubbing alcohol to remove adhesive residue?
Rubbing alcohol may be suitable for some hard surfaces, but it is not universally safe for plastics, painted finishes, coatings, or fabrics. Check the surface-care instructions first and use only a product or treatment known to be compatible with the material.
How do I remove adhesive residue if I do not know what the surface is made of?
Start with the least aggressive option: remove loose material by hand and use a lightly dampened cloth only if moisture appears appropriate for the item. Avoid strong solvents until you can identify the material or find manufacturer cleaning guidance.
Can adhesive remover damage paint?
Yes, some adhesive removers may affect certain paints or finishes. Treat the coating as the surface you need to protect, check the remover’s compatibility information, and follow any instructions for testing it on an inconspicuous area.
What should I do if adhesive residue is still sticky after cleaning?
Repeat the mildest method that has already proved compatible with the surface. If the residue remains, move to a labeled adhesive remover that is suitable for that material rather than increasing scraping pressure or experimenting with an unknown solvent.
When should I stop trying to remove adhesive residue at home?
A general household method may not be appropriate for cured epoxy, flooring mastic, large deposits of construction adhesive, or residue on delicate and high-value surfaces. In those cases, use material-specific manufacturer guidance or consider professional removal instead of escalating with stronger chemicals or tools.